


Difficulty

True to my word, this has to be the easiest, least time-consuming venture I've taken on in a long time, possibly even in Chic Cheat history.
Time
Want to go pink and frilly? You're looking at a half hour job, tops.Looking to toughen up with studs and leather? Oi! Wot u lookin' at? Realistically, 2 hours or so, depending on how good you are at stud insertion.
You will need
For the a study in how to get "studdy"
Pack of 100 6mm studs (£3.50 with postage and packing from Ebay - seller ashkx007)
Pack of jewellery connector rings (99p/pack at Hobbycraft)
Lobster clasp (99p/pack of two at Hobbycraft)
Scalpel
0.5m stiff interfacing (I can't remember what I paid for mine or even if I just scrounged it off my university for free back in the day. I just had it lying around, as I often do with these things)
Computer (like the one from which you're presumably reading this entry) with a printer and Photoshop (or equivalent program)
Metallic gel pen
Masking tape (optional)
Fabric scissors
Sewing machine with a leather needle fitted
Leather or pleather (Editor's note - if you want the real McCoy, fish it out of a leather shop's offcuts bin, or better still, do as I did and pick a cut up jacket out of the reject bin. It'll be useless to them but invaluable for shoe and accessory projects - mine lasted for three. I paid about £3 for mine, whereas a full leather skin sets you back around £20!)
Iron and ironing board
For a flouncy flight of fancy
Pink collared shirt (I used a men's shirt - £5 from a charity shop but you can strike it lucky and pay even less. They start at around £3 with postage and packing on Ebay)
White lace (I paid quite a bit for mine since I cut it off a garment, but you can find some on Ebay for less than £2 with postage and packing - search "White guipure lace")

Fabric glue (starting at £2.79 from Hobbycraft)
Fabric scissors
So, without further ado, my little stud muffins (terrible pun, model's own) here's how it's done...


Cut out your pattern outline using your scalpel. Place it on your leather and use tiny amounts of masking tape on the edges to hold it in place. Trace around the outline using your metallic gel pen. Repeat this another three times so you have four pieces.

Cut out your pieces.
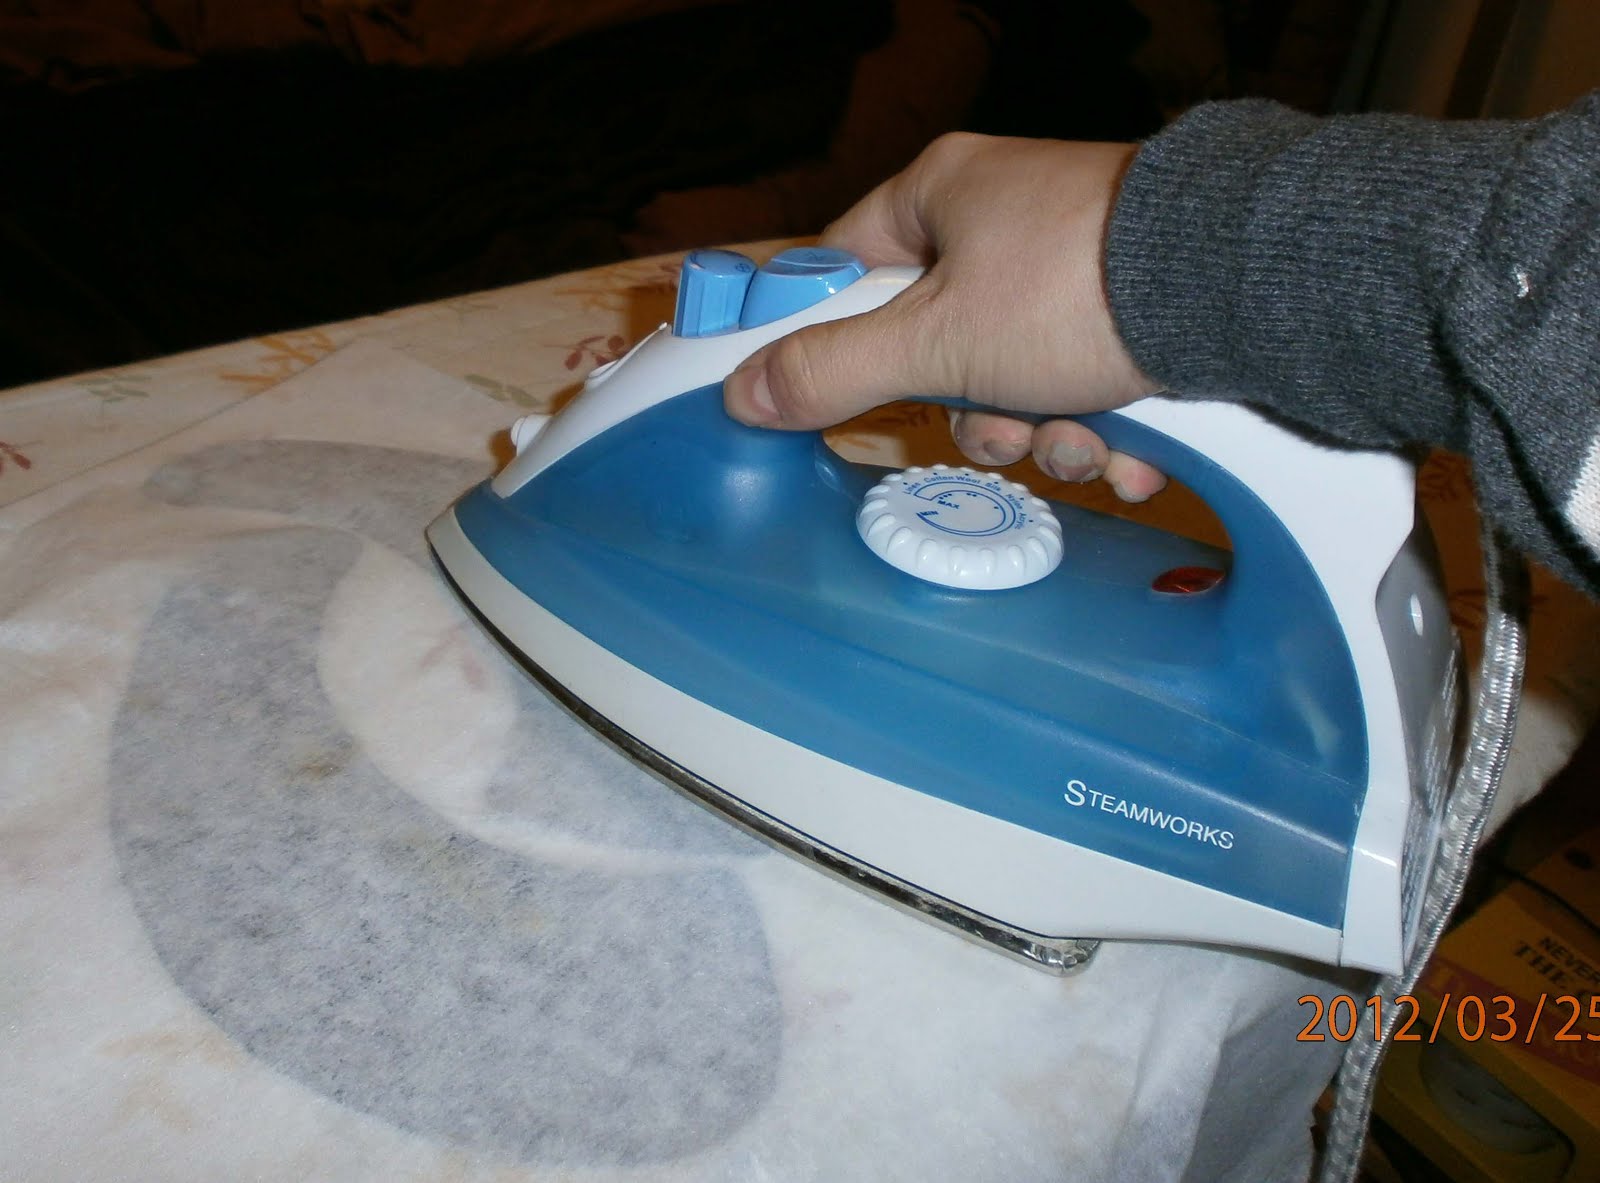
Iron your interfacing onto two of your pieces.

Divide your pieces into two pairs, both of which have one piece with interfacing and one without. Machine sew each pair together, using a leather needle.
Using your pattern, put each piece underneath it once again and use your scalpel to trace out the circles where the studs need to go. Prod four equidistant points around each circle (I would say corners but they're circles we're dealing with - you get the idea!) and make sure they all go through both layers.

Now to start putting your studs in. Use the holes you prodded to slip the points of your studs through. You'll probably need to use your scalpel to open the holes and to help coax the stud points through - I should know, I did.

Place both of your pieces back-to-back with the edges completely parallel, and pierce two holes - one at the top and one at the bottom - to make absolutely sure they're symmetrical.
Insert two interlinking rings at the bottom and four at the top - two on one side and two alongside the lobster clasp on the other...
...And you should have something that looks rather like this:

To get lacy...

Cut the collar off your shirt.

Cut your lace to fit your collar.

Glue your lace on.
Result

Boom! Owned - and now you can make your own, too. Lucky you!
Incredible! A collar DIY is definitely on my list. Thanks for stopping by my site, and of course you can borrow pics. Glad I have something you can use.
ReplyDeleteGave you a follow on bloglovin to keep up with you!
You're welcome. Bless ya - glad you liked my collars entry! Collars are one of the best things to happen to fashion this season imo - so easy to make :)
ReplyDelete