

You will need...

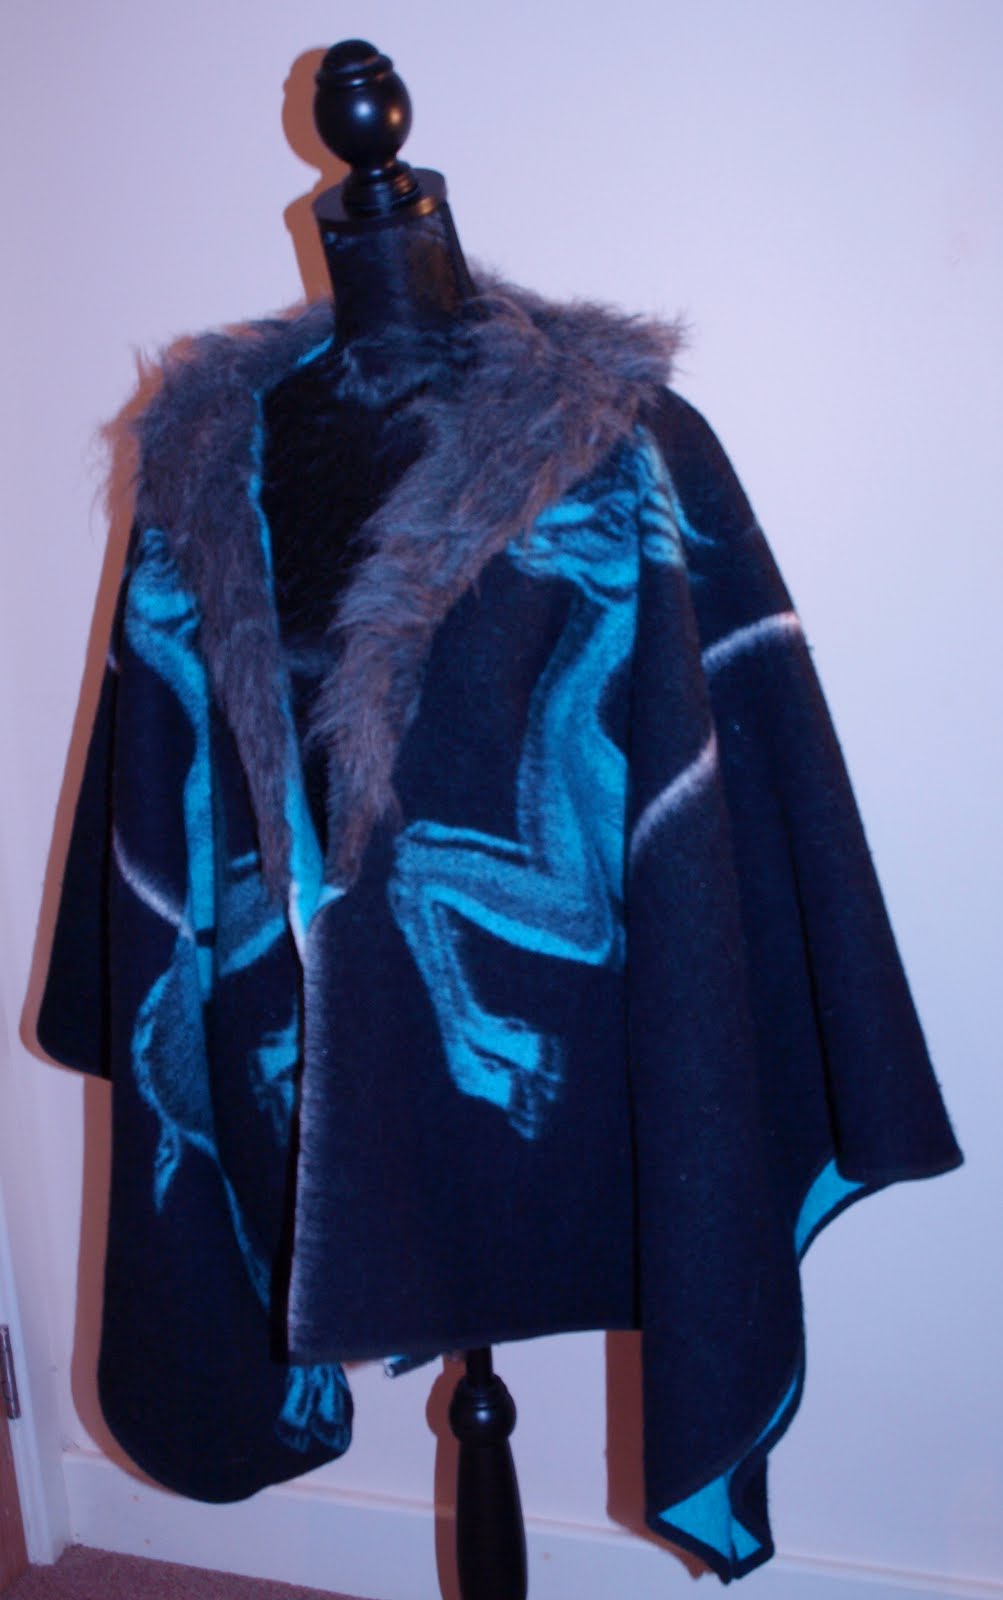
I also added a faux fur trim at the neck but that part's optional.
Difficulty

Quite Easy
It's a simple, straightforward method, in principle, but if, like I am, you're lacking in the height department and working with a heavy blanket, it can be cumbersome at times.Time
2-3 hours, if you're working with faux fur - that part entails hand-stitching. Otherwise, it's 2 hours. tops.So, to wrap it up...

Fold the blanket in half. Cut along the centre of the front (only through one layer) and a 10cm slit at either side of the top.

I cut my area to accommodate the deer design so I wasn't especially paying attention to the precise measurements but the vertical line in the picture was roughly halfway across each side. The diagonal line was at a roughly 45° angle to the vertical line and ended about 10cm from the side edge.

The next step is to turn the blanket wrong-side-up and sew the newly-cut edges together with a 1.5cm seam allowance. Don't worry if they don't meet - they won't. I found that the jagged edge helped to create the three-dimensional angular drape that's hopefully apparent in the pictures I hastily took! Once the triangular gap has been closed up, do what an old sewing teacher of mine once described as a 'stitch in the ditch,' which entails pinning the seams together and stitching along them -the 'ditch,' geddit? Please say you do - my sparing descriptive skills can't cover it any better than that!
Finally, stitch along the raw edges - again., with a 1.5cm seam allowance - and into the corners (at that point, I just sewed along the edge of the blanket's binding.

...and there you have it!


No comments:
Post a Comment