Annoying Facebook Girl says: OMG!!! I totally miss the 90s!
Annoying Facebook Girl was born in 1999.
As an adult in the twilight of my twenties and almost double the median teen age, it's hard to accept the 90s as being more than ten years ago and harder to imagine them as being treated as history, where the way of life can only really be regaled anecdotally, rather than tangibly lived. So much has changed. Realistically, how many teens, for example can imagine either having to pay over the odds for the convenience of a CD or having to couple time with trial and error to find the right song on a cassette tape (since you ask, it took 15 seconds' rewinding time for a 3-minute song on my dad's car stereo - booyah!), never mind having the luxury of downloading it. As for mp3s that, too, would be but a glint in overzealous scientists' eyes until the end of the decade (one more for the road: It was 26th October 1998 in the UK, when Nightnurse became the first band to release a single on mp3) You also graciously sucked up what came to the proverbial table when it came to entertainment. Dearly priced, charged-by-the-minute dial-up internet didn't provide the most auspicious climate for the great music-streaming phenomenon we know and love today, nor for the freedom of choice that came with it. We had to tolerate whatever slop was broadcast by TV and radio and, with the latter 90s being monopolised by girlbands, boybands and repetitive permutations of dance music, that was a bind. It also effectively failed to justify the defensive cliché "well, if you don't like it, don't listen to it" to anyone who wished to turn on a radio or, indeed, leave the house. If anything, it created a deep-rooted appreciation for the freedom of choice I have now. Symphonic metal is couture, boybands are ready-to-wear, or probably market stall fodder - and I don't mean in terms of value for money!
Of course, the 90s weren't all bad and not altogether devoid of cues future generations can take. I'd rather vast chunks of today's teen population were looking after tamagotchis than babies and that journalism still carried a decent amount of monetary value. I also, in a way, always preferred the modest, unassuming mentality of grunge to the zeitgeist of glamour and celebrity society indiscriminately embraces today; Call me old-fashioned but I'd rather look like a hobo than be slathered with tangerine tan and a blitz of vajazzle diamantés!
The stand-out cult of the decade for me would be Beanie Babies: Great fun for throwing at people, most boring topic of conversation ever! Yes, the 90s was the decade that millions of budding antique dealers debated the values of "Special Edition" bean bag soft toys and how best to preserve them. How I guffaw to imagine them putting in special guest appearances on Cash In The Attic, much more so to think that the late, great Princess Diana is being immortalised, not by precious metals nor lovingly hand crafted heraldry, but by a special purple memorial Beanie Baby - provided you keep the tag intact!
You will need...
N.B. My scale model hinges were from Ebay and measured about 7 x 14mm
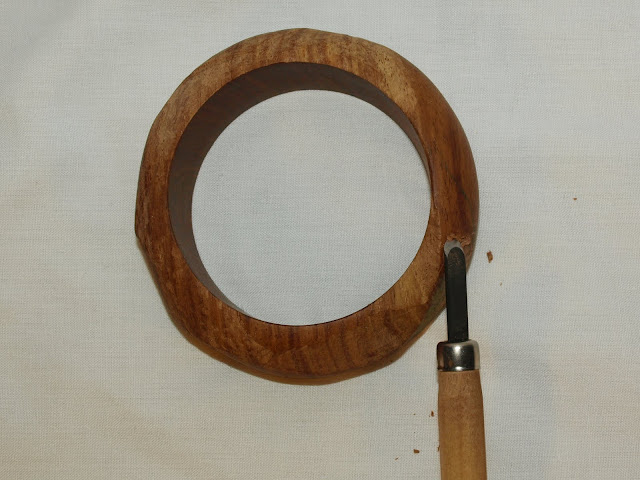
The wood-carving knives I used were from this set
Difficulty
Easy
The anatomy of a cassette tape makes this a super-simple, intuitive exercise, however, working some of your makeup loose can require careful skill or brute force, depending on the container.Time
An hour or so, tops 2 hours if you have bad luck detaching your makeup palettes.Red hot tape...
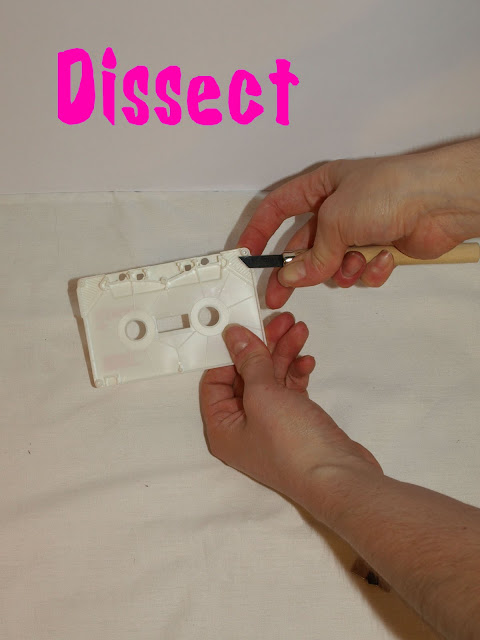
Your cassette tape may be held together by screws or by internal plastic rivets, depending on its age and manufacturer. If it has the latter, you'll need a wood-carving knife to prise it open...
...If it has screws you'll need a jeweller's screwdriver with a crossed, Phillips-style tip.
Use your wood knife to cut and scoop out all the debris, including any catches that hold it together, and to flatten the inside as much as you can. In amongst the tape's "guts" you will find a - hopefully transparent - sheet that helped to hold the reels in place during your tape's previous life. Keep it - you'll need it soon.
Depending on how tough the packaging is and how strong a glue has been used, scoop out your makeup pieces with your scalpel or wood knife. This may require time and care if you need to tease it out from along the sides. Try not to slip and cause your knife to plunge into your makeup, making it into powder and creating mess. I managed to do it a few times but my point is to take your time here; more haste, less useable eye shadow!
Apply super glue generously to the flat parts of your hinges, not directly onto your tape. Try to stick them as symmetrically as possible.
The transparent sheet you sensibly refused to discard earlier can now be used as a protective "window" for the cassette tape's contents. Glue it in place inside the open areas.
Finally, glue your makeup in place. It should be flat enough for the tape to close properly.
Hint: Maybe you want to hold onto the tape's label. Maybe you don't have or use a cassette player any more but you're looking for a cool. stylish way to honour the memory of your old favourite song which screams rock chick with a rebel yell that can be heard all the way back to Woodstock, or whatever's in its place. On the other hand, a possible reason you're dissecting the cassette tape is that you've no use for the storybook soundtrack that you were given for your 3rd birthday, or the shame song you recorded off the radio back in the day. You're about to create a masterpiece accessory but the damning evidence is still there, labelling the tape, like a testament of disgrace for your misspent youth. In which case, a good old-fashioned scrub with nail polish remover should remove all printed ink and even stubborn glue from stickers.


