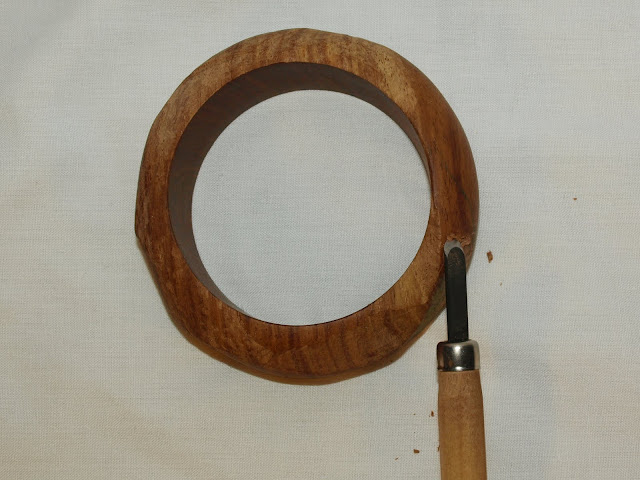
For this entry I boldly declare: Viva Vivier! Roger Vivier's faceted wooden cuffs inspired me, as a departure from my usual D.I.Y. embellishment fare, to take on a spot of sculpting. Incidentally, it was shoes to which Vivier most famously applied his elegant, sculptural vision. In fact, he invented the steel rod-supported stiletto heels we know, love and covet (and that shoe fetishists and fashion historians alike surely kneel before in reverence!). Speaking of desire, such tapering, tottering heels did exist as far back as the 18th century in fetish art but it would take the genius of Vivier to see their statuesque appeal and revive it from a dark art form into an opulent fashion accessory in 1954 (does that remind you of anyone, Mr. Gaultier?). His use of fine fabrics and lavish embellishment earned him comparisons with rococo French artist, Jean-Honoré Fragonard, while his fabulous take on historical pastiche can be perfectly summed up by the pilgrim-inspired court shoes he designed, which Catherine Deneuve wore in the film, Belle de Jour.
Have you got Deneuve?

Image: http://marie-inthetrenches.blogspot.co.uk
Roger Vivier is an overlooked revolutionary of fashion, by mainstream standards, but the label's still got it - hence why I thought I'd borrow some for my crafty homage.
You will need...
A wooden bangle - the chunkier the better. I picked mine up from a charity shop for about £1
A wood carving knife set
Pack of 8 basic nail files (£1 from Boots)
Dark felt tip pen - preferably one with a fairly fine nib
Difficulty
Moderate
I found it straightforward but unexpectedly time-consuming. I've got a steady hand and decades of crafting experience but I had never carved wood before working on this entry, so I'm leaning towards the notion that it should be as easy for me as it is for anyone.Time
12 hours
Carve out a path of plagiarist perfection:
Use your pen to draft out an angular pattern for cutting.Work through each shape one-by-one. Using your wood knife with the rounded edge (most good sets will have one or an equivalent) to chip away from the line inwards, in order to flatten the area and get rid of the curve of the bracelet. Make sure you cut with the flat side down and the blade facing away from you to avoid many a painful accident (of which I speak from painful experience!).
Once you have carved out an area, use the wide, flat bladed wood knife (the one that looks a bit like a wooden handled scalpel) to smooth the area by scraping it back and forth.
Using a nail file afterwards can add an even smoother finish.
Repeat this process with the rest of your marked out areas. Make sure you flatten them as much as possible to make the edges nice and angular and get rid of the convex curve of the original bangle.


No comments:
Post a Comment