Showing posts with label Topshop. Show all posts

Monday, 6 May 2013

Of Gems and Geometry: How to DIY a 3D geometric necklace

Still inspired by the geometric 3D jewellery trend? Got an hour to kill? Need inspiration? Chic Cheat can help...


You will need...


Gold picture hanging wire (about £1.50 from Wilkinson)

About 5 black drinking straws (free at all participating restaurants)

Scissors

The string of an old necklace or pendant

Long nosed pliers

Ruler

For the method I used...

Polymer clay

Fimo gold powder (about £3 if you shop around)


Difficulty

Pretty easy

A little fiddly in places and picture hanging wire splits really easily, which can be a headache when you're trying to join pieces together.

Time

I'm going to say an hour each but, thanks to nearby distractions, I think I made heavier weather of it than I needed to. Also, I'd recommend a quicker, simpler method than the one I did (and learnt from) as I'll explain later on.


Wire it up...

I constructed each pyramid by making 3 flat wire triangles, joining the ends together by bending them back on themselves, hooking them together and locking them in place with a twist of the pliers; I inserted them into pieces of straw as I went along (not pictured).  Each side was 3cm long.

Here's a picture showing how I constructed the pyramids by adding extra sides, only I also inserted them into pieces of straw (again, not pictured).I also threaded the wire through a jump ring at the top.

After I made each pyramid, I threaded the cord through the jump rings at the top and alternated them with a 3cm straw "stoppers" so that they stayed spread out.


Sunday, 10 February 2013

Take your pixels - How to DIY Orla Kiely's pixellated galleon designand Topshop's geometric jewellery

90s retro pixel designs, graph paper... you do the math.


Left image: Asos.com

You will need


Graph paper ( with 5mm x 5mm squares)


For the jewellery

Fimo clay

Fluorescent nail polishes (available in a pack of 4, costing £2 from Primark)

Scalpel

Pencil

Clear car body lacquer (£3.99 at Elliots)

For the Galleon top

Black cardigan

Pins and a sewing machine (for taking in the sides)

Neon yellow and white jersey (in my case, cut off old clothes)

Scalpel

Sharp thread scissors

Pencil

Iron and ironing board


Time

About an hour for each one, not including baking time in the case of the jewellery.

Difficulty


Pretty Easy

Modelling the clay for the jewellery takes quite a bit of patience but thankfully it's not technically taxing. Just take your time.


To make the jewellery...

Draw your shapes onto your graph paper using the grid-like layout as a guide to get your jagged, pixellated edges.

Use your scalpel to cut out your shapes, zigzagging along the edges and using the sharp edge to gouge out the middle once you have cut an outline.


Bake your clay shapes in the oven closely following the instructions provided (if it's Fimo, it will probably be half an hour on a low heat but don't take my word for it, refer closely to the specifications on the packaging!). Paint your nail polish onto both sides and glaze your pieces with an all-over spray of clear lacquer.


Glue in place any attachments and fastenings for your jewellery, whether they be for brooches, earrings or pendants.


For the top...

Using your graph paper as a guide, draw out your ship design, which includes the yellow backdrop. Cut all your pieces out with a scalpel.


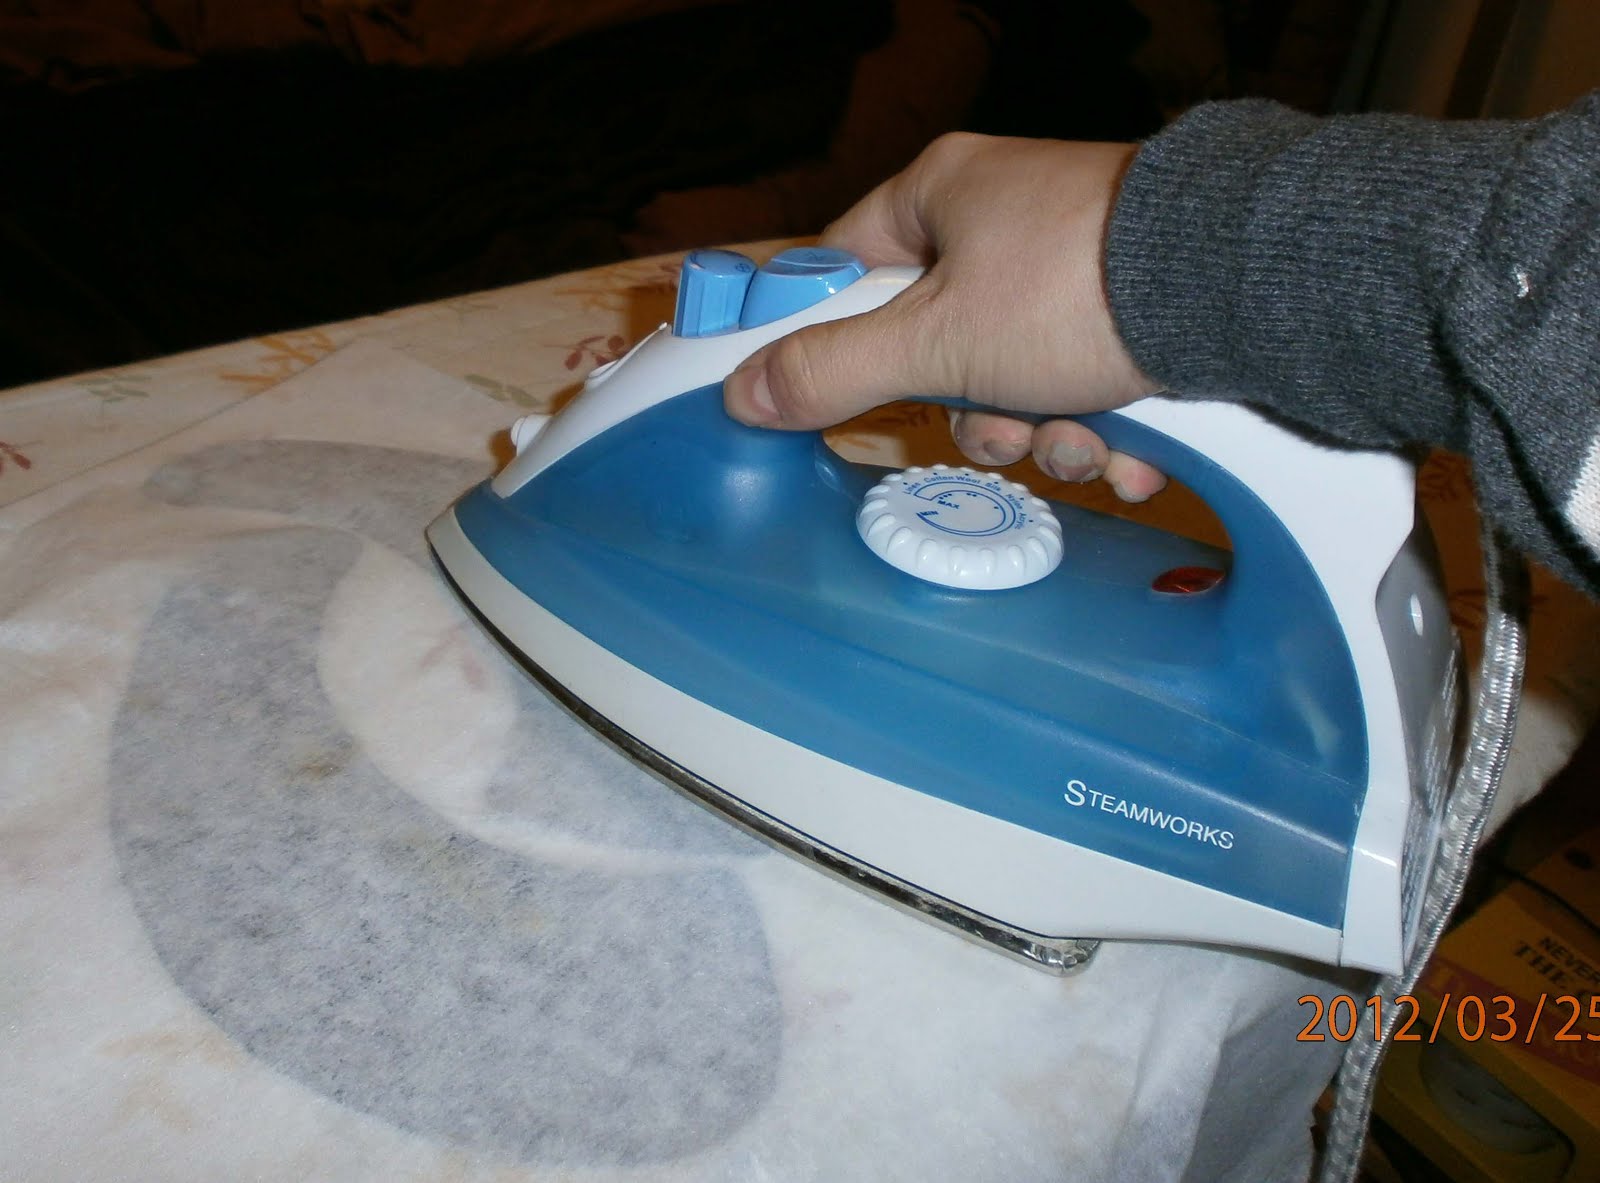
Glue them to your bondaweb and iron it onto your clothes.


Cut out your bondaweb and fabric pieces with your sharp thread scissors.


Peel away your bondaweb backing (the paper stuff on the back) and iron your pieces in place.


Thursday, 24 January 2013

For Your Inspiration: Digital Love


A new year's resolution - ahem! - I mean, blog feature I'm setting out to do for my midweek update is a trend and inspiration collage of all the potential projects I see in on-trend items. This 90s-rich, retro-digital trend of pixels and neons was quite a sentimental one for me, reminding me of the technology of the decade, the games, the colours (can we bring back neon slap bracelets? Scrunchies can stay behind) and the colour separation, as is the case in the Catherine Malandrino dress on the left. Genuinely, that reminded me of doing chromatography in chemistry class, for which I dangled strips of coloured coffee filter paper in water, watched as the dyes separated and thought "If DIY fashion bloggers dared do the same..." Okay, the last point was a more creative, less accurate take on my memories but if they come into fruition, you know where you'll hear it first...

Sunday, 6 May 2012

True Collars

So for this week's entry I thought I'd keep my big, opinionated gob shut - or to a minimum so far as verbose introductions go - and my tutorial restoratively easy after my big print-fest and starry shorts of the not-too-distant past. However, to those helming and pricing high street fashion, know only this: To accessorise an outfit with an elegant collar is surprisingly awesome, to charge silly money for the privilege is bullshit! To see what I mean, and to let the numbers do the talking, please refer to the technically inclined and completely objective diagrams below:

Oh, and while we're on the subject of value, you'll be pleased to know this entry gives you two collars for the price of one, both of them as easy as falling off a log - and pretty much equally inexpensive!


Pinterest (clipped to polyvore.com)


The second outing's in the direction of Zara with their £18 pink lace collar. £18. Really. The price of a quality top or dress and you get something like 1/50th of a garment! Ahem, rant better out than in, methinks! Now to cut to the chase...


Difficulty


True to my word, this has to be the easiest, least time-consuming venture I've taken on in a long time, possibly even in Chic Cheat history.


Time

Want to go pink and frilly? You're looking at a half hour job, tops.

Looking to toughen up with studs and leather? Oi! Wot u lookin' at? Realistically, 2 hours or so, depending on how good you are at stud insertion.


You will need

For the a study in how to get "studdy"

Pack of 100 6mm studs (£3.50 with postage and packing from Ebay - seller ashkx007)


Pack of jewellery connector rings (99p/pack at Hobbycraft)

Lobster clasp (99p/pack of two at Hobbycraft)

Scalpel

0.5m stiff interfacing (I can't remember what I paid for mine or even if I just scrounged it off my university for free back in the day. I just had it lying around, as I often do with these things)

Computer (like the one from which you're presumably reading this entry) with a printer and Photoshop (or equivalent program)

Metallic gel pen

Masking tape (optional)

Fabric scissors

Sewing machine with a leather needle fitted

Leather or pleather (Editor's note - if you want the real McCoy, fish it out of a leather shop's offcuts bin, or better still, do as I did and pick a cut up jacket out of the reject bin. It'll be useless to them but invaluable for shoe and accessory projects - mine lasted for three. I paid about £3 for mine, whereas a full leather skin sets you back around £20!)

 Iron and ironing board


For a flouncy flight of fancy


Pink collared shirt (I used a men's shirt - £5 from a charity shop but you can strike it lucky and pay even less. They start at around £3 with postage and packing on Ebay)

White lace (I paid quite a bit for mine since I cut it off a garment, but you can find some on Ebay for less than £2 with postage and packing - search "White guipure lace")


Fabric glue (starting at £2.79 from Hobbycraft)

Fabric scissors


So, without further ado, my little stud muffins (terrible pun, model's own) here's how it's done...

Print out the pattern above, making sure it's 22.5cm in length (Photoshoppers, check using the rulers function)


Cut out your pattern outline using your scalpel. Place it on your leather and use tiny amounts of masking tape on the edges to hold it in place. Trace around the outline using your metallic gel pen. Repeat this another three times so you have four pieces.


Cut out your pieces.


Iron your interfacing onto two of your pieces.


Divide your pieces into two pairs, both of which have one piece with interfacing and one without. Machine sew each pair together, using a leather needle.

Using your pattern, put each piece underneath it once again and use your scalpel to trace out the circles where the studs need to go. Prod four equidistant points around each circle (I would say corners but they're circles we're dealing with - you get the idea!) and make sure they all go through both layers.


Now to start putting your studs in. Use the holes you prodded to slip the points of your studs through. You'll probably need to use your scalpel to open the holes and to help coax the stud points through - I should know, I did.


Place both of your pieces back-to-back with the edges completely parallel, and pierce two holes - one at the top and one at the bottom - to make absolutely sure they're symmetrical.

Insert two interlinking rings at the bottom and four at the top - two on one side and two alongside the lobster clasp on the other...

...And you should have something that looks rather like this:


To get lacy...


Cut the collar off your shirt.


Cut your lace to fit your collar.


Glue your lace on.

Result


Boom! Owned - and now you can make your own, too. Lucky you!