Showing posts with label diy blog. Show all posts

Wednesday, 26 September 2012

DIY Digest: Dead On Trend

Sugar skulls meet studs and sparkle.

Following Sunday's technical tour-de-force, I thought I'd share one of my easier outings. It's my first of the current season and while it wasn't part of the plan to start so late, I thought I'd tickle your creative tastebuds with a titbit of simple-yet-effective problem solving. I simulated the metallic rhinestone effect with bronze metallic paint and added a few colours into the mix, plus a few studs I happened top have lying around. It wasn't the first time I've seen it done but if you're relatively new to crafting or, perhaps haven't the confidence to take on some of my more ambitious projects, I'd definitely recommend it - from experience.

So, from my experience to yours...

You will need

A black t-shirt (mine cost £7) N.B. Choose one with a fairly thin, ideally translucent fabric

Bronze fabric paint - the type that comes in squeezy bottles. I find that fabric paint from pots is too runny

Green, silver and brown fabric paint - optional (ideally in potted form, like these)

The following print-out, A4 size:


...and a clear plastic surface to cover it, like a binder sleeve


How it's done

In a good light, simply place your skull printout in a clear sleeve and under your top, then trace it out with dots of bronze paint along the edge.

You can get some quite nice effects, including long spiky studs...


... and rounded rhinestones, especially if the paint you choose has a nice metallic sheen...


My version


Sunday, 23 September 2012

Keep It Surreal

Katy Perry and Lana del Rey give it some lip from Alberto Guardini...


Behold, for I have returned! Apologies, readers - or whoever is left of you - my two, nay, three week blogging hiatus was definitely not part of the plan but an unfortunate array of logistics conspired. I spent this past working week snowed under at the office and the previous 10 days in La Belle France on holiday with the family (sadly sans internets). The handful of work-free days before that? I'd best describe them with an allusion to Greece. No, it's not to do with peplum ruffles being in full swing this season. It's not the hummus, nor their ability to sink the European economy, I mean, God! That's, like, so 2011! They're doing it in Spain now, with many a wicked whisper of them requiring a €150bn bailout to balance the books - well you're no one if they don't love you or hate you in Europe, honey! Nope, the Greek mythological figure in question here is Tantalus, a man whose sinful transgressions secured him an eternity of hunger and thirst, in a pool of perpetually ebbing water, under a permanently out-of-reach fruit tree branch. It's from that very tale that we get the word "tantalising," which is how I'd describe the 4 days in question. 4 work-free days, completely to myself, near the well-stocked fabric boutiques of Kenilworth, turned out not to be to myself at all, but lost to packing, travelling and losing an entire day to an unprecedented last-minute commitment and a sorry excuse for a rail network! Painfully frustrating though it was, I still believe that under no circumstances should art be rushed, yes, including an insanely competitive, machine-gun-speed blogging industry. Thus, I give you, a new entry!

I took on the lipstick heeled shoes worn by Katy Perry and Lana del Rey for this entry. I fancied the reconstructive challenge they presented and found them so deliciously resonant of the pseudo-iconographic visuals of both artists.

Also, you know how you always get that one nauseatingly photogenic friend who will, guaranteed, still look the very apex of beauty after being chased by wild boars through a tropical storm? For whom festivals, in fact any sort of tussle with the elements are no compromise to their flawless being? To whom, in passing, a male friend might remark "She'd even look amazing in a bin bag"? Well, is it just me does Lana look like she's sporting the very look in question here, on her head?


Of course, it's not a question of impossibly photogenic, so much as pure visual culture, darling! That headscarf, or whatever that unidentified abomination is, is actually part of a sartorial whole. Coupled with the smoky eyeliner and the demure mood set to black-and-white, it's a fine and delicate art in which paradigms from the 60s come together in a modern context to create a directional statement. Not many people I know can personally boast that!

The shoes are definitely a better call, from the del Rey school of capturing 60s-cool nostalgia. The surrealist overtones recall the golden age of youth culture. Think Andy Warhol's repeat prints, or perhaps the pop art printed shift dresses sold by graduates, Sally Tuffin and Marion Foale on Carnaby Street. Fashion, back then, as made with a disregard for couture's ivory tower status. As Mary Quant said, "Snobbery is out of fashion," (Fashion general ignorance: She didn't invent the mini skirt, fashion students did!) Cheap, novel fashion made by the young for the young took the place of watered down versions of film stars' and countesses' gowns. Okay, so this time around the paradigm has shifted back to square one, with me doing the copying. Granted, this coming season's looking more to the 90s than the 80s and 60s, though there are exceptions. It generally takes 2 decades for a phased-out trend to go from rubbish and passé to retro pastiche - probably because its new teen-market majority are too young to remember how dire it was the first time around!

You will need


Black stiletto heeled shoes

Isopon car body filler (All will be revealed)

Flat box or palette for mixing

Plane (this sort)

Red enamel paint

Fimo gold powder

Paintbrush

Clear lacquer

2 plastic carrier bags

Parcel tape

Scissors
 

Difficulty


Medium

The body filler is acrid, very quick drying and takes a bit of getting used to. Planing also requires some practice.
 

Time

About 2 and a half hours per shoe but most of that's spent waiting for layers to dry. 
 

The surreal thing...


Sunday, 17 June 2012

Scarf Ace

Scarf printed tops are the signature look of the current season - room for one more?


This concept of this tutorial came to me as a creative solution to the issue of what to wear to a festival (and still look fabulous whatever the harsh, conspiring weather!) I came up with a kaftan-style scarf printed top that's lightweight, cool and not too clingy. In fact, the advantage of its shape is the freedom of movement that it allows, as well as the versatility - it can be worn sleeveless with the drapes cascading along the sides or wrapped around your arms for extra warmth. What's more, if you glam it up and choose a silk patterned scarf, it's as chic for day wear as it is classy for the evenings.

Now that we're well into the season for spring/summer 2012 (read, just about getting started as far as the weather's concerned), I've noticed that the fashion statement to shout the loudest this season has been the Dolce & Gabbana-inspired scarf print look. The above examples are, well, just to refresh your memory, if, indeed they're needed (in which case, I do hope you enjoyed your holiday in space and eagerly await your postcard) Scarf prints are just one of the key looks inspired by Dolce & Gabbana, as they hold a well-heeled (and high-heeled I should suspect) foot in the camp of couture, with their collections being among the most talked about, season upon season. What's more, nostalgic romanticism was at the core of their creative inspiration from the start, the scarf prints of this season have just been a novel, contemporary approach, as is inevitable in fashion. As Domenico Dolce once said: "I like time. Now is not two minutes later and it's never like before. Repetition doesn't exist." Amen to that, and to alternate interpretation, Mr D.

Speaking  of new sartorial incarnations, the kaftan-style top I came up with was meant as an easy tutorial, ideal for all abilities and levels of experience. I also find it's great as a kind of all-purpose top, ideal for evening wear, throwing over a bikini at the pool and even for wearing with cut off shorts at a festival. It's easy to move in and great for adding a touch of elegantly draped finesse to an outfit...though I say it myself!

You will need


A patterned scarf, about 1m x 1m (H&M currently do one for £7)

About 1.5m ribbon that's strong and wide (mine was 3.5cm in width, priced at £4.35 from John Lewis, however you can buy it much more cheaply at a market. Also I'd recommend you choose a versatile colour that's not too hard to match like black or white)

Sewing machine

Thread that matches your scarf

Sewing scissors (the smaller and sharper the better)

Embellishment trims and all purpose/contact adhesive (optional. Quick tip: A thin covering of glue on the ends of your ribbon is a great and subtle way to stop it from fraying)

Tape measure

Patternmaster or a ruler and setsquare for measuring points on the scarf and making sure they're measured along straight lines.)

Metallic gel pen

Sewing pins

Difficulty


So-so

Just because you'll more than likely be working with a satin scarf or even something more sheer like chiffon, which can be a bit of a fiddle to sew. My advice is to just take care and take your time to avoid any nasty snagging and ripping.

Time

It took me 5-6 hours but I was pretty distracted so normally it'd probably be a lot less.


 So, here's how to give your scarf a second life...


Wednesday, 30 May 2012

A Brief Miu Miu-sing

My gratitude for your patience in this overdue entry and tutorial. I like to think, and live in hope, that it's been worth the wait - as well as further proof of the absolute gospel truth, and I understand one of the fundamental laws of physics, that one can never have too many bags or shoes. So, with that, I shall keep you no longer and cut straight to the chase...

For this entry I was part trend-conscious, part indulgent in my choice, taking on Miu Miu's red leather rosette pouch:


Difficulty


Fiddly

Pretty straightforward (I'm aware I say that a lot) but requiring of a steady hand and a reasonable degree of skill, especially for crafting the "rose." Definitely worth the effort but you have been warned!


Time

Mine took about 10 hours, most of which was spent waiting for the contact adhesive to dry - you have to apply it to both surfaces and wait 10-15 minutes before pressing them together - so, with a little multi-tasking and organisation, it's definitely possible to economise a little more on time.


You will need (in no particular order)

A small red bag

Black and opaque yellow fabric paint by Dylon (£3 each at John Lewis and £2.99 at Hobbycraft)

A sheet of A4 paper

A clutch pencil

A patternmaster or graded setsquare

Contact adhesive (£6.18 in tub form, which I used, or £2.08 in tube form)

0.5m leather or pleather

Scalpel

All-purpose scissors

Seam ripper

Wide paintbrush

Black gel or ballpoint pen

Palette knife

Sewing pins


The reasons? All will be revealed in the following video:


That hand-crafted oeuvre again...


Sunday, 6 May 2012

True Collars

So for this week's entry I thought I'd keep my big, opinionated gob shut - or to a minimum so far as verbose introductions go - and my tutorial restoratively easy after my big print-fest and starry shorts of the not-too-distant past. However, to those helming and pricing high street fashion, know only this: To accessorise an outfit with an elegant collar is surprisingly awesome, to charge silly money for the privilege is bullshit! To see what I mean, and to let the numbers do the talking, please refer to the technically inclined and completely objective diagrams below:

Oh, and while we're on the subject of value, you'll be pleased to know this entry gives you two collars for the price of one, both of them as easy as falling off a log - and pretty much equally inexpensive!


Pinterest (clipped to polyvore.com)


The second outing's in the direction of Zara with their £18 pink lace collar. £18. Really. The price of a quality top or dress and you get something like 1/50th of a garment! Ahem, rant better out than in, methinks! Now to cut to the chase...


Difficulty


True to my word, this has to be the easiest, least time-consuming venture I've taken on in a long time, possibly even in Chic Cheat history.


Time

Want to go pink and frilly? You're looking at a half hour job, tops.

Looking to toughen up with studs and leather? Oi! Wot u lookin' at? Realistically, 2 hours or so, depending on how good you are at stud insertion.


You will need

For the a study in how to get "studdy"

Pack of 100 6mm studs (£3.50 with postage and packing from Ebay - seller ashkx007)


Pack of jewellery connector rings (99p/pack at Hobbycraft)

Lobster clasp (99p/pack of two at Hobbycraft)

Scalpel

0.5m stiff interfacing (I can't remember what I paid for mine or even if I just scrounged it off my university for free back in the day. I just had it lying around, as I often do with these things)

Computer (like the one from which you're presumably reading this entry) with a printer and Photoshop (or equivalent program)

Metallic gel pen

Masking tape (optional)

Fabric scissors

Sewing machine with a leather needle fitted

Leather or pleather (Editor's note - if you want the real McCoy, fish it out of a leather shop's offcuts bin, or better still, do as I did and pick a cut up jacket out of the reject bin. It'll be useless to them but invaluable for shoe and accessory projects - mine lasted for three. I paid about £3 for mine, whereas a full leather skin sets you back around £20!)

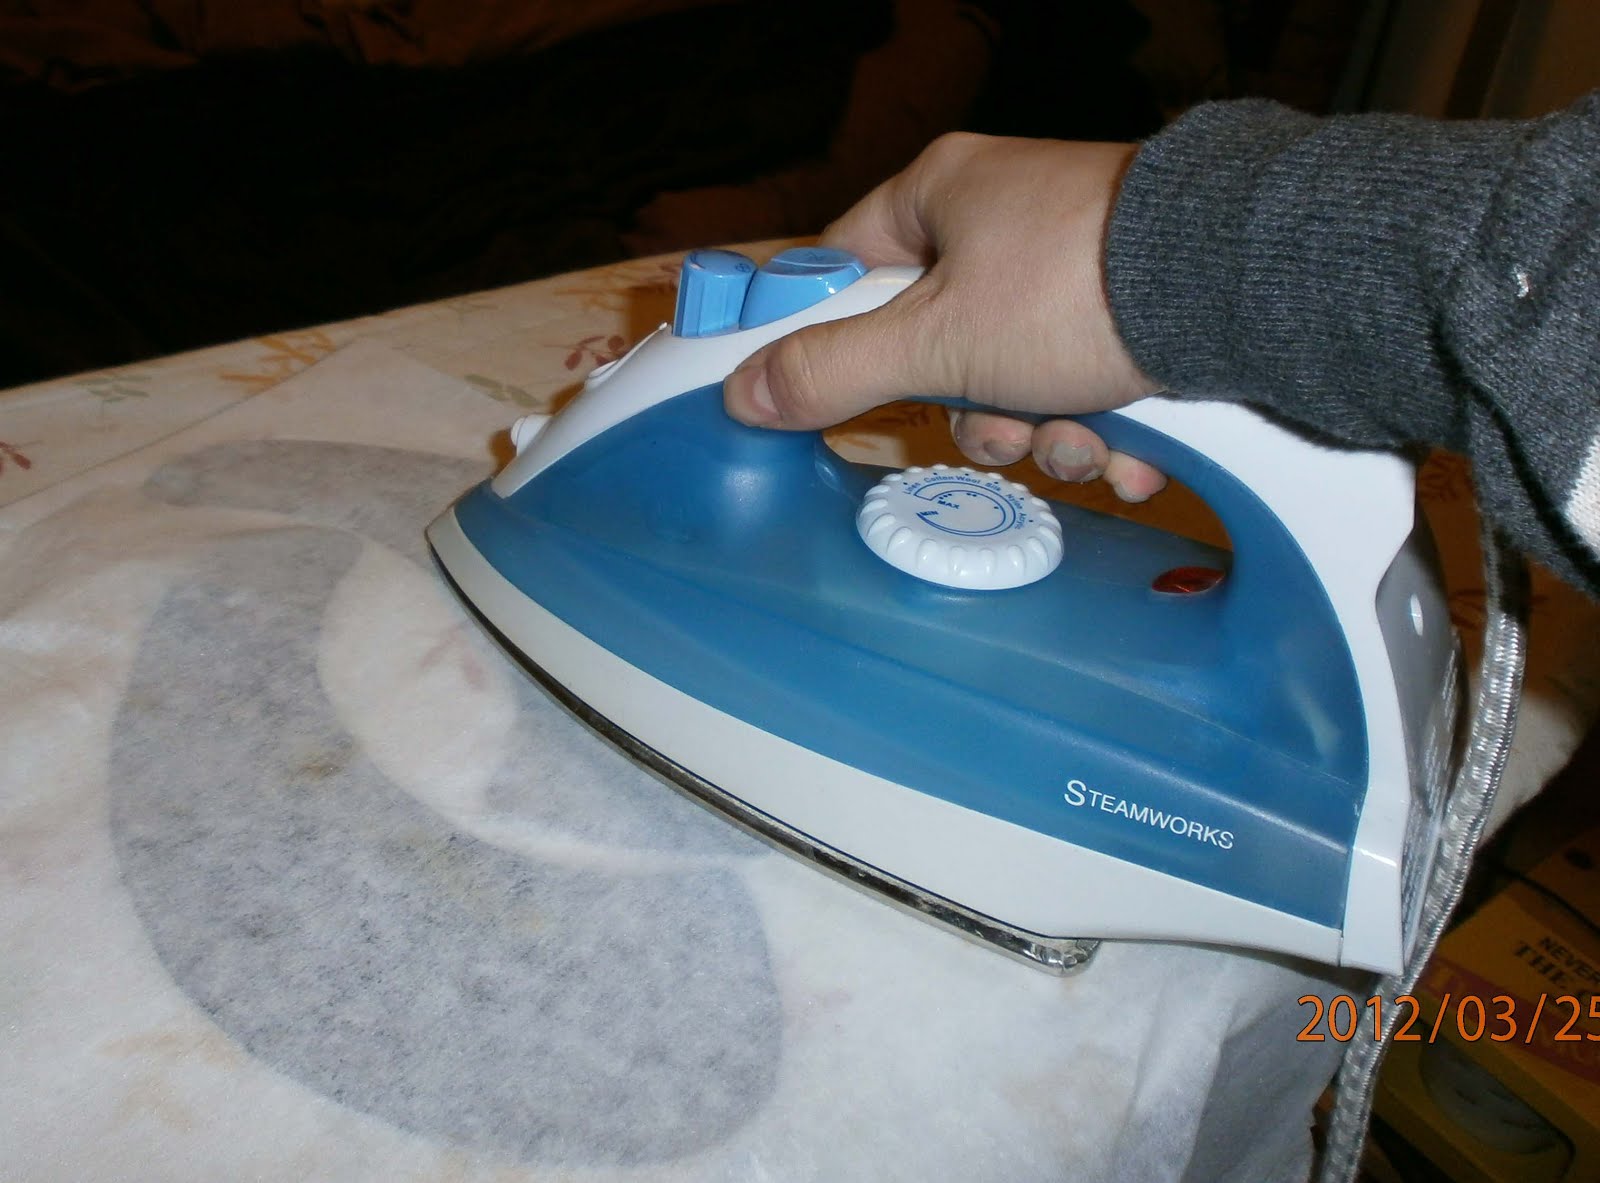
 Iron and ironing board


For a flouncy flight of fancy


Pink collared shirt (I used a men's shirt - £5 from a charity shop but you can strike it lucky and pay even less. They start at around £3 with postage and packing on Ebay)

White lace (I paid quite a bit for mine since I cut it off a garment, but you can find some on Ebay for less than £2 with postage and packing - search "White guipure lace")


Fabric glue (starting at £2.79 from Hobbycraft)

Fabric scissors


So, without further ado, my little stud muffins (terrible pun, model's own) here's how it's done...

Print out the pattern above, making sure it's 22.5cm in length (Photoshoppers, check using the rulers function)


Cut out your pattern outline using your scalpel. Place it on your leather and use tiny amounts of masking tape on the edges to hold it in place. Trace around the outline using your metallic gel pen. Repeat this another three times so you have four pieces.


Cut out your pieces.


Iron your interfacing onto two of your pieces.


Divide your pieces into two pairs, both of which have one piece with interfacing and one without. Machine sew each pair together, using a leather needle.

Using your pattern, put each piece underneath it once again and use your scalpel to trace out the circles where the studs need to go. Prod four equidistant points around each circle (I would say corners but they're circles we're dealing with - you get the idea!) and make sure they all go through both layers.


Now to start putting your studs in. Use the holes you prodded to slip the points of your studs through. You'll probably need to use your scalpel to open the holes and to help coax the stud points through - I should know, I did.


Place both of your pieces back-to-back with the edges completely parallel, and pierce two holes - one at the top and one at the bottom - to make absolutely sure they're symmetrical.

Insert two interlinking rings at the bottom and four at the top - two on one side and two alongside the lobster clasp on the other...

...And you should have something that looks rather like this:


To get lacy...


Cut the collar off your shirt.


Cut your lace to fit your collar.


Glue your lace on.

Result


Boom! Owned - and now you can make your own, too. Lucky you!